


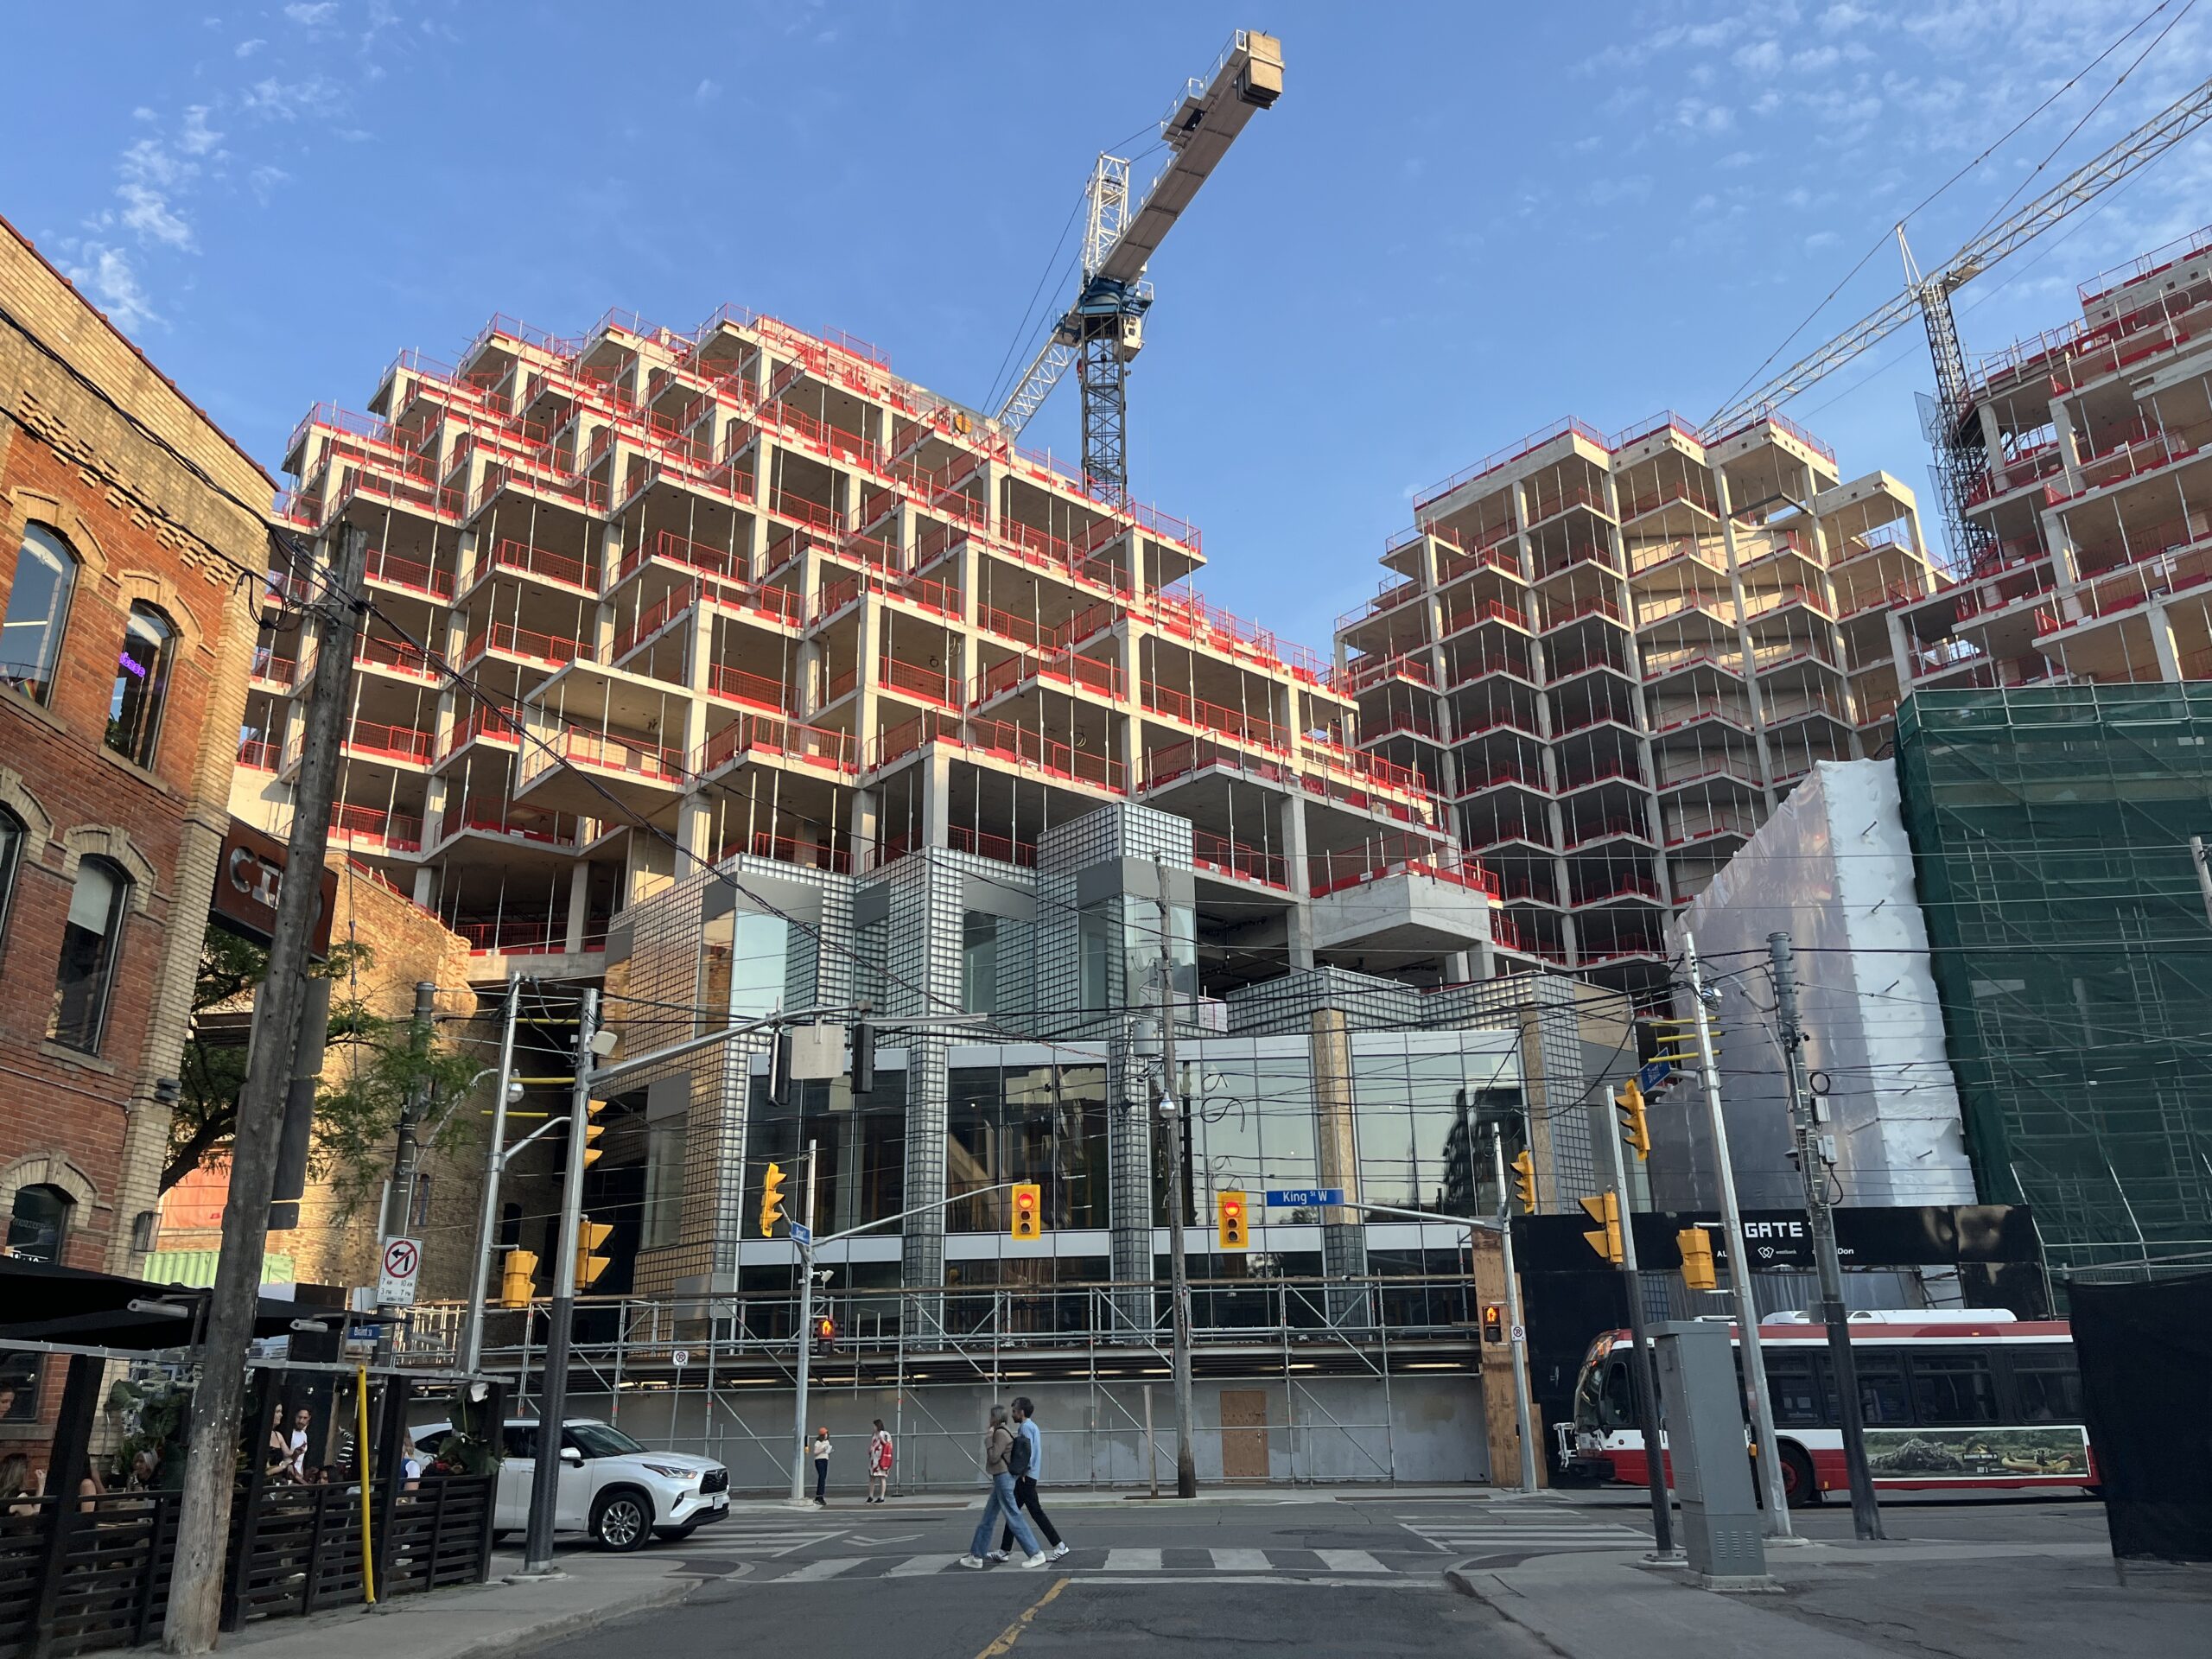
After years of looking at floor plans, renderings and construction updates, the day finally comes: your pre-construction condo actually exists. Before you start measuring for furniture or planning move-in day, there’s one important step left… the Pre-Delivery Inspection, better known as the PDI.
Your PDI is your opportunity to walk through your new condo with the builder or their representative before occupancy, inspect the finished product and document anything that’s damaged, incomplete, missing or simply not working properly. And while it’s exciting to finally see the condo you bought, this isn’t the time to rush. You want to slow things down, look closely and make sure the home you’re about to receive is properly documented.
Here’s how I recommend preparing for your Toronto condo PDI, and what you should be looking for once you’re inside.
What Is a Pre-Delivery Inspection (PDI)?
A Pre-Delivery Inspection is a walkthrough of your new home that happens before you take occupancy. According to Tarion’s Pre-Delivery Inspection guidelines, the PDI is used to identify items that are damaged, incomplete, missing, inaccessible or not operating properly. It also gives the builder an opportunity to show you how the different systems in your new home work.
I like to think of the PDI as creating a snapshot of your condo before you move in. If there’s a scratch across your new flooring, for example, you want it documented before the movers arrive and not three weeks later when there could be a question about when or how it happened.
During the inspection, deficiencies are recorded on the PDI Form. Once everything has been documented, you or your designate will review and sign it and receive a copy for your records. There is one important distinction to understand from the beginning, though: your PDI Form is not the same thing as a warranty claim. We’ll get into why that matters a little later.
How to Prepare for Your Condo PDI
You don’t need to show up with a toolbox, but a little preparation can make your PDI much more productive. I’d bring your Agreement of Purchase and Sale, floor plan, colour and finish selections, upgrade sheets and any other documentation showing what you purchased from the builder.
Remember, you’re not only looking for scratches and dents. You’re also confirming that the condo in front of you is what you actually bought. If you paid for upgraded flooring, a particular countertop, different cabinetry or an upgraded appliance package, compare what’s been installed with your paperwork. Something can be installed perfectly and still be the wrong thing.
If you’re still weighing the differences between buying new and resale, I’ve also broken down the pros and cons of buying a resale vs. pre-construction condo.
Bring Your Phone—and Charge It
Your phone is probably one of the most useful tools you can bring to a PDI. Take photos as you go, especially when you find something damaged or incomplete. For anything significant, I like taking one wider photo that establishes where the deficiency is located and then a closer photo that clearly shows the problem.
Tarion also recommends photographing damaged or incomplete items because those photos may become useful documentation later. My approach is pretty simple: see it, mark it, photograph it and document it.
And Bring Green Painter’s Tape
This is one of my favourite PDI tips, and it’s incredibly simple: bring a roll of bright green painter’s tape.
Whenever you notice a scratch, chip, dent, paint issue or another visible deficiency, put a small piece of tape beside it. The bright colour makes the issue easy for the builder to identify, but it also helps you find it again when you’re reviewing the condo later. By the end of some PDIs, there can be quite a bit of green tape around the unit, and that’s okay. That’s exactly why you’re there.

Your Toronto Condo PDI Checklist
Once the inspection starts, I recommend working systematically through the condo rather than wandering from room to room looking for problems. Start with the big picture and then work your way through each space, checking the finishes, fixtures and systems as you go.
Start With the Big Picture
Before getting caught up in small cosmetic details, take a minute to look at the condo as a whole. Does the layout match what you purchased? Are the rooms and major features where they’re supposed to be? Do the finishes generally match your selections? Are your upgrades installed?
If something immediately looks different from what you expected, now is the time to pull out your paperwork and ask about it. Don’t assume a substitution was permitted simply because it’s already been installed.
Check the Floors, Walls and Ceilings
Take your time looking over the flooring, walls, ceilings, baseboards and trim throughout the condo. You’re looking for things like scratched flooring, chipped tiles, poor transitions, damaged baseboards, drywall imperfections, paint issues, cracks or other visible damage.
It’s worth looking at surfaces from a few different angles, especially when there’s good natural light coming through the windows. Some scratches, dents and paint imperfections can be surprisingly difficult to see when you’re standing directly in front of them. This is also where that roll of green painter’s tape really starts earning its keep.
Open Every Door, Window and Closet
A condo can look perfectly finished until you actually start interacting with it, so don’t be afraid to open things. Try the interior doors, closets, cabinetry and accessible windows. Make sure everything opens and closes smoothly, isn’t rubbing or sticking and doesn’t have obviously damaged or misaligned hardware.
The important thing here is not to treat the PDI as a visual inspection only. If something is designed to open, close, slide, turn or move, give it a try.
Inspect the Kitchen
The kitchen deserves some extra attention because there are so many individual components packed into one relatively small space. Open the cabinets and drawers, inspect the countertops and backsplash and compare the finishes against what you selected when you purchased the condo.
Turn on the faucet and let the water run for a bit, then take a look underneath the sink for any signs of leaking. Check the caulking, plumbing, outlets and appliances while you’re there. You should also confirm that the appliances you’re supposed to receive are present and don’t have any obvious damage.
It’s worth noting that appliances themselves aren’t necessarily covered by the builder’s statutory new-home warranty in the same way construction defects are, so ask the builder how appliance deficiencies and manufacturer warranties are handled.
Give the Bathrooms Extra Attention
Bathrooms are another area where you want to do more than simply look around. Run the faucets, flush the toilets and make sure the water drains properly. Look underneath the vanity for leaks and inspect the tile, grout, mirrors, fixtures and caulking.
And then there’s one test I always like to do—one that occasionally gets me a funny look.
Yes, I Actually Stand in the Bathtub
If there’s a bathtub, I’ll take my shoes off, step inside and carefully walk back and forth or shift my weight around. I’m checking to see whether the tub feels stable and properly supported.
It’s a perfect example of something you might never notice just by looking at it. The bathtub could look completely normal from the outside, but once you step inside, you may notice movement or something that simply doesn’t feel right. That’s why I like actually using things during a PDI rather than only inspecting them visually.
Test the Electrical and Learn How the Condo Works
As you move through the condo, turn the lights on and off and test the switches and accessible outlets where practical. You should also know where your electrical panel is located and ask about anything you don’t understand.
The same goes for your heating and cooling system. Don’t leave the PDI knowing where the thermostat is but having no idea what it actually controls. Ask the builder representative to explain the system, including the thermostat, fan coil or heat pump where applicable, exhaust fans and any equipment you’re responsible for maintaining.
This is also a good opportunity to ask about filters, shut-offs and regular maintenance. I’ve written a separate guide to condo and apartment heating systems if you want to better understand some of the different systems you’ll find in Toronto buildings.

Don’t Let Your PDI Feel Rushed
This might be my biggest piece of advice: slow down.
It’s easy to feel like you need to keep pace with the builder representative who’s taking you through the condo, especially when you’re excited to finally see the place. But you’re inspecting a brand-new home you’ve spent a considerable amount of money on, so take the time to actually inspect it.
Open the cabinets and closets. Run the water. Flush the toilets. Turn on the lights. Look underneath the sinks. Step back and look at the finishes. If something doesn’t make sense, ask about it. You’re not being difficult by taking your time—you’re doing exactly what the PDI is there for.
What Happens If You Find a Deficiency?
If you find something that needs attention, point it out to the builder representative and make sure it’s accurately recorded on the PDI Form. I’d also take a photo for your own records, particularly if the issue is something that could become harder to document after you move in.
Before signing the form, take a few minutes to review it and make sure the deficiencies you identified are actually included and described accurately. Keep your copy of the completed form together with your photos and other purchase documents.
Ideally, the builder will address those items before or shortly after you move in. However, don’t assume that having something written on your PDI Form means the warranty process will automatically take care of it from that point forward.
Your PDI Form Is Not Your Warranty Claim
This is probably the most important technical detail in this entire guide. Your PDI Form documents the condition of your condo before occupancy, but it does not itself represent a request for warranty service through Tarion.
If an item identified during your PDI hasn’t been resolved, you may need to include it on the appropriate warranty form to obtain Tarion’s assistance. As of October 2026, Tarion’s current process allows homeowners to begin adding items to their Initial Form one day after their warranty start date, with the form automatically submitted through MyHome on day 41.
Because warranty procedures and deadlines can change, I’d always check Tarion’s current warranty claim forms and timelines rather than relying on an older article when you’re actually preparing a submission.
The important takeaway is that documenting something at your PDI and submitting it through the warranty process are two different steps.
What About the Condo’s Common Areas?
Your individual condo PDI generally focuses on what’s within the boundaries of your unit. Common elements are different and have their own warranty process involving the condominium corporation.
Where things can get a little confusing is that something may feel like it’s part of your condo while legally being considered a common element. Depending on the condominium’s declaration, this can include things such as balconies, windows or even the suite entrance door.
If you notice an issue involving one of these areas, you can still document it and raise it with the appropriate parties. Understanding the distinction between the individual unit and the condominium corporation is also one of the reasons it’s important to understand what a condo status certificate is and why it’s important when purchasing a resale condo.
What Happens After the PDI?
Once the PDI is finished, keep an eye on the deficiencies you documented and confirm whether they’ve been corrected. You may also discover things after moving in that weren’t obvious during the inspection. That’s not unusual—you can learn a lot more about a home after actually living in it.
Ontario’s statutory new-home warranty provides different protections during the one-, two- and seven-year warranty periods. You can review the current new-home warranty coverage directly through Tarion.
Most importantly, keep good records. Photos, emails, forms and dates aren’t particularly exciting…until you need them.
My Advice After Attending Condo PDIs
The small cosmetic deficiencies are often the easiest things to find. It’s the things you have to actually interact with that are easier to miss, which is why I don’t like treating a PDI as simply a visual walkthrough.
Open the cabinets and closets. Run the faucets. Flush the toilets. Slide the doors. Turn on the lights. Step into the bathtub. Ask how the thermostat works. And when you find something that isn’t right, mark it with that green painter’s tape, photograph it and make sure it’s documented.
A good PDI isn’t about trying to find as many problems as possible. It’s about taking the time to understand the home you’re about to receive and making sure its condition is properly recorded before you move in.
Toronto Condo PDI FAQs
How long does a condo PDI take?
There isn’t one universal length because condos vary in size and builders may schedule their inspections differently. Give yourself enough time that you won’t feel pressured to rush through the unit. A smaller condo may have fewer rooms, but there are still plenty of finishes, fixtures and systems worth checking.
Can I bring my Realtor to my PDI?
Tarion says you can have someone accompany you during your PDI. If you can’t attend yourself, you can also appoint a designate to conduct the PDI on your behalf, although the appropriate authorization should be provided to the builder.
Can I bring a home inspector to my condo PDI?
Tarion doesn’t restrict whom you can choose as your designate, but you’ll want to confirm the builder’s procedures for additional attendees ahead of your appointment. If you’re considering professional assistance, arrange it before PDI day rather than assuming you’ll be able to add someone at the last minute.
What happens if I find damage during my PDI?
Point it out to the builder representative, make sure it’s properly recorded on the PDI Form and take photographs for your own records. The goal is to create a clear record showing that the damage or deficiency existed before you took occupancy.
What happens if the builder doesn’t fix something from my PDI?
If an unresolved item may be covered by Ontario’s statutory new-home warranty, it should be reported through the applicable warranty claim process. Don’t assume the PDI Form itself is a warranty claim.
Is the PDI Form the same as a Tarion warranty claim?
No. The PDI Form creates a record of the home’s condition before occupancy. Tarion’s warranty claim process is separate, so unresolved items may need to be submitted through the appropriate warranty form.
Should I take pictures during my PDI?
Yes. Tarion specifically recommends photographing damaged or incomplete items. Photos can provide useful evidence of what the condo looked like before you moved in.
What should I bring to a condo PDI?
At minimum, I’d bring your purchase documents and selections, a charged phone and a roll of green painter’s tape. Having your paperwork with you makes it much easier to compare the finished condo with what you actually purchased.
Can I report a problem after my PDI?
Yes. Missing something during the PDI doesn’t necessarily eliminate your warranty coverage. However, documenting visible damage or missing items during the PDI can make it much easier to establish that the problem existed before you took occupancy.
Does my condo PDI include my balcony?
Not necessarily. Tarion notes that condo PDIs focus on items within the boundaries of the individual unit. Balconies, windows and entrance doors are examples of items that may be common elements, depending on the condominium’s governing documents.
Final Thoughts: Your PDI Isn’t Just a Walkthrough
For many pre-construction buyers, the PDI is the first time the condo stops being a floor plan and starts feeling like home. Enjoy that moment—but don’t let the excitement distract you from why you’re there.
Take your time, test things, ask questions and document what you find. Bring your paperwork, charge your phone and, yes, bring the green painter’s tape.
You waited long enough for your condo to be built. Spending a little extra time making sure everything is properly documented before you get the keys is time well spent.
For many pre-construction buyers, the PDI is the first time the condo stops being a floor plan and starts feeling like home. Enjoy that moment—but don’t let the excitement distract you from why you’re there.
Take your time, test things, ask questions and document what you find. Bring your paperwork, charge your phone and, yes, bring the green painter’s tape.
This becomes even more important when purchasing a penthouse or luxury condo, where custom layouts, upgraded finishes and additional features can mean there’s simply more to inspect. I specialize in Toronto penthouses and have helped buyers navigate everything from the initial condo search through to the final stages before getting the keys.
If you’re buying a penthouse or luxury condo in Toronto and want experienced guidance throughout the process, send me a message below!


